


How to make a paper weaving
My first foray into video.

Hello hello!
Happy Sunday. Today I’ve got something new for you. It’s my first time making a how-to video. I had a lot of fears going into this, mostly entirely irrational ones. Will my voice sound stupid? Will everyone know I’m nervous? What am I doing? But, I did it anyway and you know what? It wasn’t really scary at all and actually I enjoyed feeling like a teacher.
The video is for paid subscribers. Why? Because they support this venture and I want to keep publishing this newsletter but I can’t work for free! It’s a big thank you to everyone who values what I’m doing here. If you want to join in, there is a button at the bottom of this email to upgrade to paid.
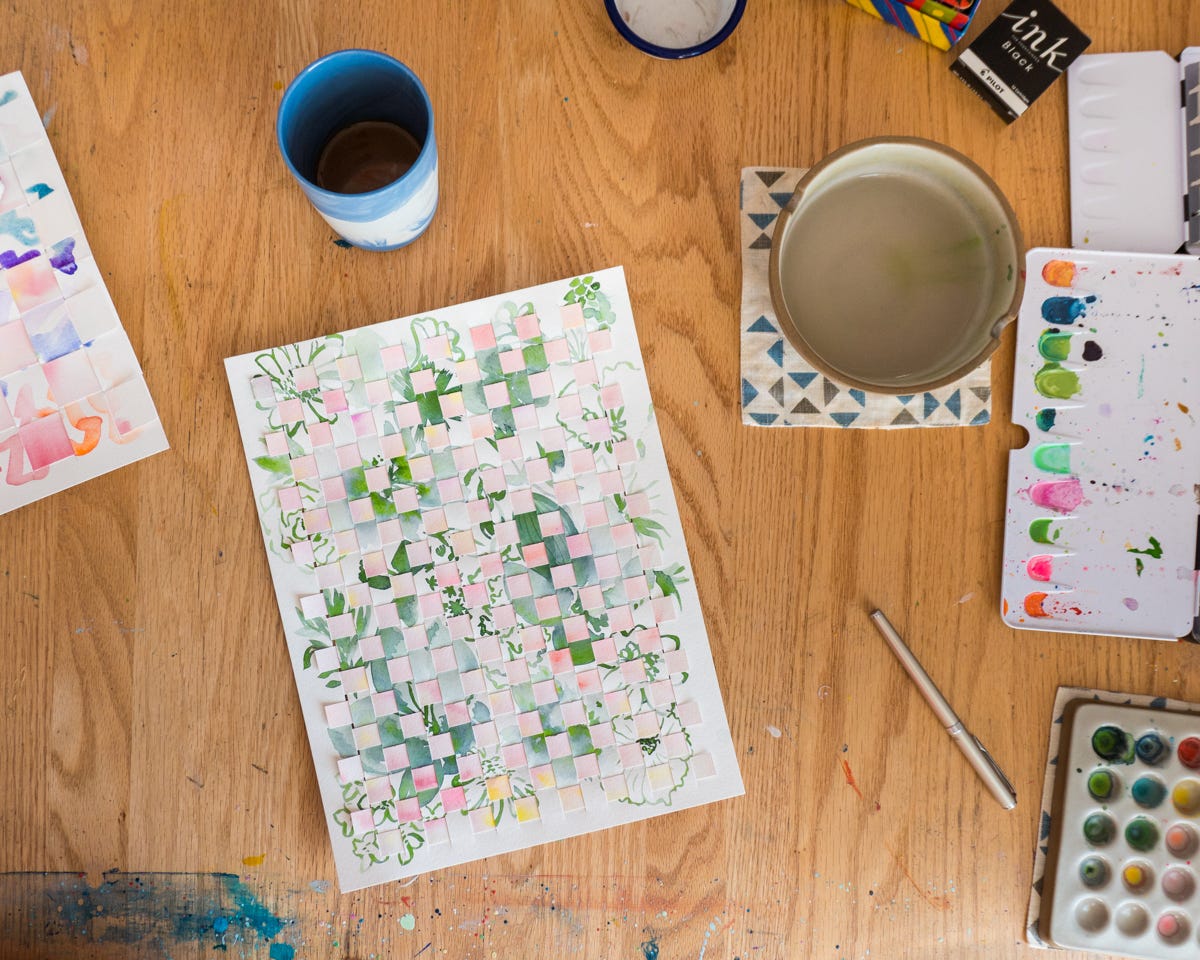
In the video I show my whole process for making paper weavings and go over the materials.
Here’s the full materials list with links:
2 pieces of paper - I used Fluid Cold Press 140 lb and New Soho Sketch Pad
Watercolors - I use Case for Making colors, you can use anything you already have or another medium. There are no rules!!
Brushes - I get them either at Artist and Craftsman or from Case for Making. When I go to Artist and Craftsman I usually pick the cheapest Princeton brand ones.
Water bowl
Scissors or X-Acto knife and cutting mat
Ruler - I use an aluminum ruler for cutting and the Westcott beveled ruler for precise measuring and marking
Glue - Yamato Sticking Paste
Pencil - I use a Staedtler H in the video but was wishing my Tombow Mono 2H was within reach.